
Airport Tips & Tricks
Flight Attendant Tips for a Smoother Airport Experience
Airports can be stressful, especially when you’re dealing with long security lines, crowded terminals, delayed flights, or last-minute gate changes. But with a little preparation and a few smart travel tricks, your airport experience can be a whole lot easier.
As a flight attendant, I spend a lot of time at airports and have picked up plenty of little tips along the way. From getting through security more smoothly to packing your carry-on strategically, there are so many simple things that can make a big difference.
Whether you’re a frequent flyer or getting ready for your first big trip, these airport tips and tricks will help you save time, stay organized, and start your journey with less stress.

Image: AI generated and for illustrative purposes only
01 — Before You Head to the Airport
Small preparations that can save you a lot of time and stress.
A smooth airport experience actually starts long before you arrive at the terminal. A few simple things can make your travel day so much easier, especially when airports are busy or something doesn't go according to plan.
1. Check In Online
Whenever possible, check in online before heading to the airport. Most airlines open online check-in around 24–48 hours before departure, although this varies by airline.
Online check-in allows you to confirm your flight details, choose or review your seat, and often save your boarding pass directly to your phone.
My Flight Attendant Tip: Take a screenshot of your boarding pass or add it to your Apple Wallet or Google Wallet. That way, you can access it quickly without relying on airport Wi-Fi or mobile data.
2. Double-Check Your Travel Documents
Before leaving home, make sure you have everything you need for your destination. Check your passport’s expiration date, visa requirements, and any additional entry documents well before your trip.
Some countries require your passport to remain valid for several months beyond your travel dates, so don’t leave this until the last minute.
My Flight Attendant Tip: Don't forget to check the vaccination requirements for your destination, too. Some countries require proof of certain vaccinations, such as yellow fever, while others may recommend additional vaccines depending on where you're traveling.
Make sure your vaccinations are up to date and bring your vaccination record or International Certificate of Vaccination if required. Some vaccines need to be administered several weeks before departure, so it's worth checking well in advance.
3. Check Your Airline’s Baggage Rules
Not all airlines have the same baggage allowances. Before packing, check the size, weight, and number of bags included in your ticket.
This is especially important when flying with budget airlines, where even a small carry-on suitcase may cost extra.
My Flight Attendant Tip: Weigh your suitcase at home and leave a little extra room for anything you might buy during your trip.
4. Download Your Airline’s App
Your airline’s app can be one of the most useful tools on your travel day.
It often provides boarding passes, flight updates, gate information, and notifications about delays or schedule changes.
My Flight Attendant Tip: Enable push notifications and keep an eye on the airport departure screens. Gate assignments can change, and airport displays are an important source of up-to-date information.
5. Give Yourself Enough Time
Rushing through an airport is never a great way to start a trip.
As a general starting point, plan to arrive around 2 hours before a short-haul flight and 3 hours before a long-haul or international flight, unless your airline or airport recommends otherwise.
Busy travel periods, checked baggage, passport control, and large airports may require additional time.
My Flight Attendant Tip: Always check your airline’s check-in and baggage drop deadlines. These can be much earlier than your actual departure time.
Want to know exactly what to pack for your next flight? Discover my favorite carry-on essentials and packing tips to make traveling easier.
Read My Carry-On Essentials Guide >
Not sure what belongs in your carry-on and what should go in your checked luggage? Check out my complete packing guide to find out what to pack where and avoid common travel mistakes.
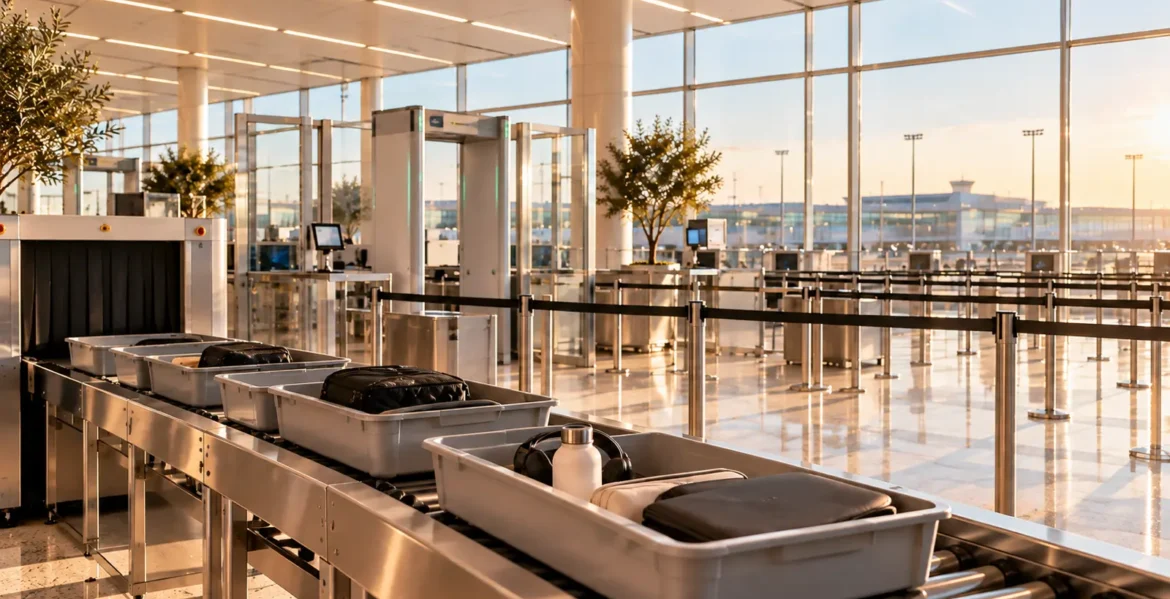
Image: AI generated and for illustrative purposes only
02 — Get Through Airport Security Faster
Simple tricks to make airport security quicker and less stressful.
Airport security can be one of the most stressful parts of traveling, especially when you’re in a hurry. But a little organization can make the entire process much smoother. Here are a few simple tricks to help you get through security without unnecessary delays.
1. Keep Your Liquids & Electronics in Your Personal Item
One of my favorite airport tricks as a flight attendant is keeping all my liquids and electronics in my personal item instead of my carry-on suitcase. This way, if I need to take anything out at security, everything is already within easy reach. I don’t have to open my suitcase, dig through my belongings, or repack everything afterward.
My Flight Attendant Tip: Pack your liquids in a clear, resealable bag and keep your laptop, tablet, and other electronics easily accessible in your personal item. Some airports allow liquids and electronics to stay inside your bag, while others still require you to remove them. Always follow the instructions at your security checkpoint.
2. Dress Smart for Airport Security
Your airport outfit can actually make a difference when going through security. Choose comfortable clothes and shoes that are easy to take off if required. Avoid wearing too many metal accessories, oversized belts, or complicated jewelry that might slow you down.
My Flight Attendant Tip: Keep your pockets empty before reaching the security checkpoint. Put your keys, coins, and other small belongings inside your bag so you don’t have to collect everything separately afterward.
3. Have Your Documents Ready
Keep your boarding pass and passport or ID somewhere you can easily access them. You don’t want to be the person searching through their entire bag while everyone behind you is waiting.
My Flight Attendant Tip: Use a dedicated pocket in your personal item for your travel documents so you always know exactly where they are.
4. Check the Security Rules Before You Arrive
Security procedures can vary depending on the airport and the screening equipment being used. Some airports have modern CT scanners that allow passengers to leave certain liquids and electronics inside their bags. Others still require you to remove them.Liquid restrictions can also vary, so check your departure airport’s current rules before traveling.
My Flight Attendant Tip: Even when flying through an airport with newer scanners, I prefer to keep everything organized and accessible. It makes unexpected security checks much easier.
5. Stay Organized at the Security Checkpoint
Before it’s your turn, make sure your belongings are ready for screening.
Follow the security officers’ instructions, place your items in the trays as required, and avoid unpacking anything unnecessarily.
Once you’ve cleared security, collect your belongings and move to a designated repacking area before reorganizing your bags.
My Flight Attendant Tip: Always double-check your tray before leaving. Phones, watches, passports, and small electronics are surprisingly easy to forget.

Image: AI generated and for illustrative purposes only
03 — Make The Most Of Your Time At The Airport
Save money, stay organized, and make your time at the airport more comfortable.
Once you’ve made it through security, there are still a few simple tricks that can make your airport experience easier, more comfortable, and even save you some money.
1. Bring a Refillable Water Bottle
Buying bottled water at the airport can get expensive, especially if you’re traveling frequently. One of my favorite travel essentials is a reusable water bottle. Some airports with newer CT scanners allow passengers to bring larger quantities of liquids through security, while others still enforce the traditional 100 ml restrictions.
My Flight Attendant Tip: Check your departure airport’s security rules before traveling. If you’re allowed to bring water through security, take advantage of it! Otherwise, bring an empty reusable bottle and refill it after security, before boarding your flight.
2. Pack Your Own Snacks
Here’s something many travelers don’t realize: You’re generally allowed to bring your own food through airport security!
Packing snacks is an easy way to save money and avoid relying on expensive airport food or limited onboard options.
Some of my favorite travel-friendly options include:
- Granola and protein bars
- Sandwiches and wraps
- Crackers and pretzels
- Nuts and trail mix
- Fresh fruit
Just remember that foods with a liquid or gel-like consistency, such as yogurt, hummus, or spreads, may be subject to liquid restrictions. International destinations may also have restrictions on bringing certain foods into the country.
My Flight Attendant Tip: Always pack a few snacks in your personal item, especially for early departures, long flights, or tight connections. You never know when a delay might leave you waiting longer than expected.
3. Keep Your Charging Essentials Accessible
Between checking flight updates, using digital boarding passes, and staying connected, your phone battery can drain surprisingly quickly on travel days. Pack your charging cable, adapter, and power bank somewhere easy to reach.
My Flight Attendant Tip: Charge your devices before leaving home and bring a fully charged power bank. Remember that power banks must not go in checked baggage, and airline rules may restrict where you can store or use them onboard.
4. Keep an Eye on Your Gate
Airport gates can change, sometimes even shortly before boarding.
Always check the departure screens and your airline’s app for updates rather than relying only on the gate printed on your boarding pass.
My Flight Attendant Tip: Before heading off to grab coffee, shop, or find something to eat, check how far your gate is from your current location. Some airports are huge, and getting from one terminal to another can take longer than you think.
5. Use Your Waiting Time Wisely
If you have some extra time before boarding, take advantage of it.
Use the restroom, refill your water bottle, grab a snack, and make sure your essentials are organized before heading to the gate.
My Flight Attendant Tip: I always recommend using the airport restroom before boarding. Airplane lavatories are much smaller, and you may not be able to use them immediately after getting onboard.
Image: AI generated and for illustrative purposes only
04 — Boarding Tips & Carry-On Hacks
Make boarding easier, stay organized, and settle into your seat without unnecessary stress.
Boarding might seem like the easiest part of flying, but a few simple tricks can make a big difference. From knowing when to line up to organizing your carry-on, here’s how to make boarding smoother and less stressful.
1. Don’t Rush to Be the First to Board
Unless you need extra time or want to secure overhead bin space, there’s usually no reason to rush to the boarding gate as soon as boarding is announced. Airlines typically board passengers in groups, so pay attention to your assigned boarding group and wait until it’s called.
My Flight Attendant Tip: If you only have a small personal item that fits under the seat in front of you, there’s often no advantage to boarding first. Enjoy a few extra minutes in the terminal instead of standing in a crowded boarding line.
2. Keep Your In-Flight Essentials Within Reach
One of the easiest ways to make boarding smoother is to organize your belongings before stepping onto the aircraft. Keep everything you’ll need during the flight in your personal item rather than your carry-on suitcase.
Some essentials worth keeping close include:
- Headphones or AirPods
- Phone and charging cable
- Lip balm and hand cream
- Snacks and water bottle
- Book or Kindle
- Travel documents
- Any medication you might need
My Flight Attendant Tip: I always recommend having your in-flight essentials ready before boarding. That way, you won’t have to stand in the aisle searching through your suitcase while other passengers are trying to reach their seats.
3. Store Your Carry-On the Right Way
Overhead bin space is limited, especially on fully booked flights. Place your larger carry-on suitcase in the overhead compartment according to the crew’s instructions, and keep your smaller personal item under the seat in front of you when required. Avoid taking up unnecessary overhead space with small bags, jackets, or other items if passengers still need room for their suitcases.
My Flight Attendant Tip: Follow the overhead bin labels and crew instructions. Depending on the aircraft, suitcases may need to be placed on their side rather than flat to maximize available space.
4. Keep Your Power Bank Accessible
Power banks and spare lithium batteries should never be packed in checked luggage. Keep your power bank in your carry-on or personal item and follow your airline’s specific rules for onboard storage and use.
My Flight Attendant Tip: I recommend keeping your power bank in your personal item where it’s easy to access, rather than buried inside your suitcase in the overhead bin. Some airlines also require power banks to remain visible or within reach during the flight.
5. Be Prepared for Gate-Checked Luggage
On busy flights, overhead bin space can fill up quickly. Sometimes, airlines may ask passengers to check their carry-on suitcases at the gate. This is why it’s important to keep your valuables and essential items in a separate bag.
My Flight Attendant Tip: If your carry-on suitcase needs to be checked at the gate, always remove your power banks, spare lithium batteries, important medication, travel documents, and valuables before handing it over. Check where you’ll need to collect the bag after landing.
6. Have Your Boarding Pass Ready
Keep your boarding pass and passport or ID easily accessible when approaching the gate. Make sure you’re at the correct gate and listen for boarding announcements.
My Flight Attendant Tip: Turn up your phone’s brightness before scanning your digital boarding pass. It can make the scanning process quicker, especially when the gate is busy.
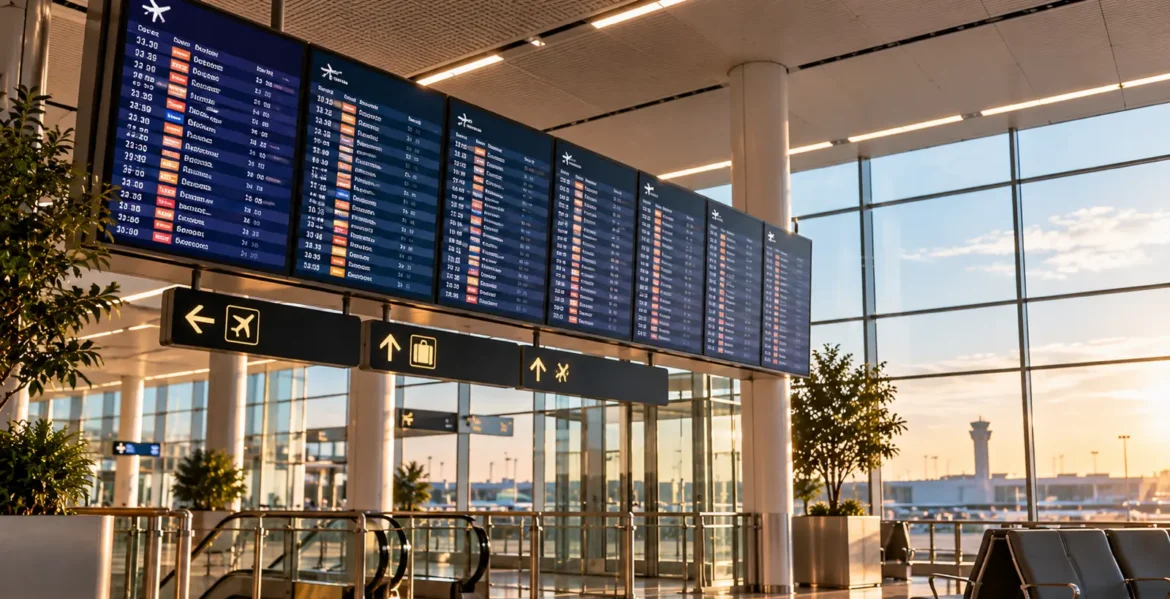
Image: AI generated and for illustrative purposes only
05 — Connecting Flights & Layover Tips
Make your connections easier and avoid unnecessary stress between flights.
Connecting flights can sometimes be stressful, especially when you’re traveling through a large airport or dealing with delays. But knowing what to expect and planning ahead can make your layover much smoother.
Here are a few tips to help you navigate connecting flights like a frequent traveler.
1. Allow Enough Time Between Flights
Not all airports are created equal. Some are easy to navigate, while others require long walks, shuttle buses, or even terminal changes.
When booking connecting flights, I recommend allowing at least 1.5 hours between flights whenever possible. This gives you a little breathing room, especially if your first flight arrives late.
Remember, flight delays can happen at any time. Even a 20-minute delay can turn a short connection into a stressful race through the airport. And don’t forget that boarding usually closes well before the scheduled departure time.
Some flight connections offer as little as 30 minutes between flights. While these connections may technically be possible at certain airports, they’re extremely tight and leave almost no room for unexpected delays.
International connections may require even more time, especially if you need to go through immigration, security, or baggage claim.
My Flight Attendant Tip: I personally wouldn’t recommend booking a connection with only 30 minutes between flights. Around 1.5 hours is a good starting point, and I’d allow 2–3 hours for more complicated international connections. Just because an airline offers a short connection doesn’t mean it’s going to be stress-free. A little extra time can save you a lot of unnecessary stress!
2. Check Your Connecting Gate as Soon as You Land
Once you’ve landed, check your airline’s app or the airport departure screens for your next flight’s gate. Don’t automatically rely on the gate information from your original booking, as assignments can change.
My Flight Attendant Tip: Before stopping for food, coffee, or shopping, find out where your next gate is and how long it will take to get there.
3. Know If You Need to Go Through Security Again
Depending on your route, you may need to pass through another security checkpoint or immigration before reaching your connecting flight.
This is especially common when transferring between international and domestic flights or arriving from certain countries.
My Flight Attendant Tip: Keep your passport, boarding pass, and liquids easily accessible until you’ve completed all required checks.
4. Check Whether You Need to Collect Your Luggage
If you’re traveling on connecting flights, your checked baggage may be transferred automatically to your final destination, but not always.
Some countries require passengers to collect their luggage, clear customs, and recheck their bags before continuing their journey.
This can happen even when all your flights are booked on the same ticket.
My Flight Attendant Tip: Always confirm at check-in whether your luggage is tagged to your final destination and whether you’ll need to collect it during your connection. Never assume it will automatically be transferred.
5. Know What to Do If You Miss Your Connection
Flight delays happen, and sometimes even the best planning can’t prevent a missed connection. If your first flight is delayed, check your airline’s app for updated information or automatic rebooking options.
If both flights are booked on one ticket, the airline will generally be responsible for arranging an alternative connection when a covered disruption causes you to miss your onward flight.
If you’ve booked separate tickets, however, you may need to arrange and pay for a new flight yourself.
My Flight Attendant Tip: Whenever possible, book all your connecting flights together as one booking, directly with the airline or through a trusted booking platform. This usually gives you better protection if a delay causes you to miss your connecting flight.
6. Make the Most of Longer Layovers
A longer layover doesn’t have to mean hours of boredom. Depending on the airport, you might find comfortable lounges, restaurants, shopping areas, or even quiet spaces to relax. Some airports also offer luggage storage, shower facilities, or convenient connections to nearby city centers.
My Flight Attendant Tip: If you’re planning to leave the airport during a long layover, always check visa requirements, transportation times, and how early you need to return for security and boarding. Don’t underestimate how long getting back to your gate can take.
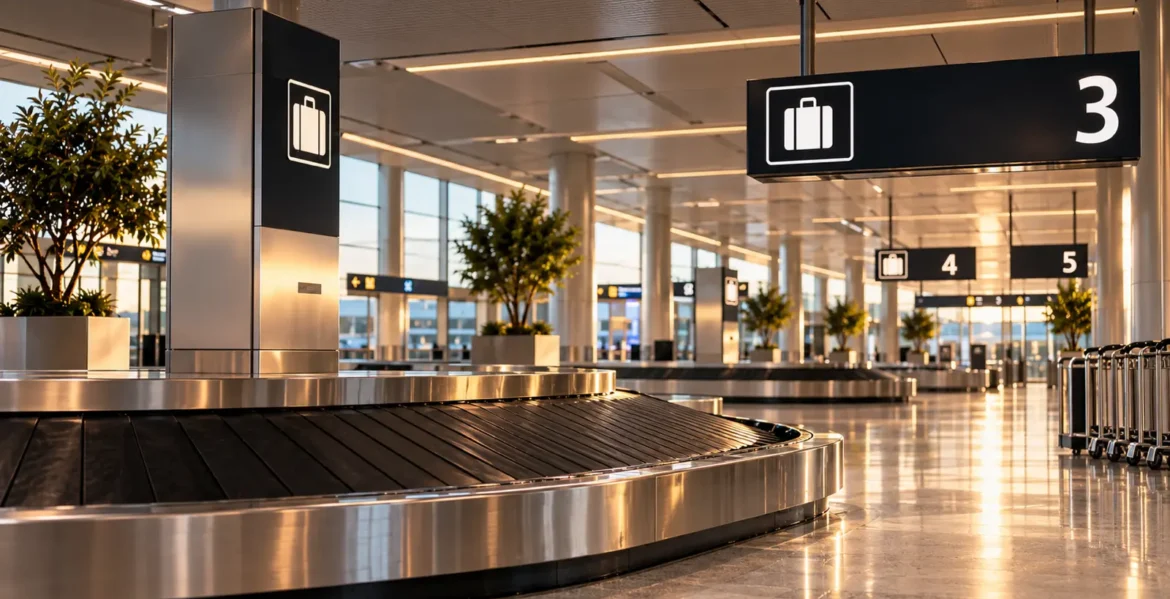
Image: AI generated and for illustrative purposes only
06 — Baggage Claim & Arrival Tips
Simple tricks to find your luggage faster and make your arrival as smooth as possible.
You’ve made it to your destination! But before you can officially start your trip, there are a few things worth keeping in mind, especially if you’re traveling with checked luggage.
Here are my favorite tips for making baggage claim and airport arrivals easier.
1. Use an Tracker to Track Your Luggage
One of my favorite travel essentials is an Luggage Tracker in my checked suitcase. It allows me to check my luggage’s approximate location, which can be especially helpful if my suitcase gets delayed or doesn’t arrive at my destination.
While it doesn’t guarantee that your luggage won’t get lost, it gives you a little extra peace of mind.
My Flight Attendant Tip: I actually had a situation where I was told my suitcase had arrived at my destination, but my Tracker showed that it was still in Las Vegas! Instead of waiting endlessly at baggage claim for a suitcase that wasn’t even there, I knew something was wrong and could contact the baggage service team right away. That’s exactly why I never travel with checked luggage without an Tracker anymore.
2. Make Your Suitcase Easy to Recognize
Many suitcases look almost identical, especially black and dark-colored ones. Adding a luggage tag, colorful strap, or another recognizable accessory can help you spot your suitcase more easily on the baggage carousel.
My Flight Attendant Tip: I actually learned this lesson the hard way! I once accidentally took someone else’s suitcase because we had the exact same one — same brand, same size, and same color. I didn’t realize the mistake until after leaving the airport, which meant I had to drive all the way back, return the wrong suitcase, and pick up my own. A lot of unnecessary stress that could have easily been avoided! Ever since, I always recommend adding something distinctive to your luggage and double-checking the baggage tag before leaving the airport. Even if a suitcase looks exactly like yours, it doesn’t necessarily mean it is!
3. Take a Photo of Your Luggage Before Flying
Before checking in your suitcase, take a quick photo of it. If your luggage gets delayed or lost, having a recent picture can make it easier to describe your suitcase to the airline.
My Flight Attendant Tip: Keep a photo of your suitcase and your baggage claim receipt on your phone until your luggage has safely arrived.
4. Know What to Do If Your Luggage Doesn’t Arrive
If your suitcase doesn’t appear on the baggage carousel, don’t panic.
First, check the airport screens to make sure you’re waiting at the correct carousel. At larger airports, baggage from the same flight may occasionally arrive at different belts. If your suitcase still doesn’t show up, contact the airline’s baggage service desk before leaving the airport.
You’ll usually need your baggage claim receipt and flight details to file a missing baggage report.
My Flight Attendant Tip: Ask for a Property Irregularity Report (PIR) or the airline’s equivalent reference number and keep it somewhere safe. You can use it to follow up on your missing luggage. Keep receipts for any essential purchases you need to make while waiting for your bag.
5. Plan Your Airport Transfer in Advance
After a long flight, the last thing you want is to figure out how to get to your hotel while standing in a crowded arrivals hall.
Before traveling, check your transportation options, including airport trains, buses, rideshares, taxis, or rental cars. Some airports have designated rideshare pickup areas that are located away from the main terminal.
My Flight Attendant Tip: Save your hotel’s address and check your airport transfer options before departure. If you’re arriving internationally, having offline maps downloaded can also be helpful when you don’t have mobile data yet.
6. Double-Check Your Belongings Before Leaving
After a long travel day, it’s surprisingly easy to leave something behind.
Before leaving the airport, take a moment to check that you have your passport, phone, wallet, carry-on, and all your checked luggage.
My Flight Attendant Tip: Make it a habit to do one final belongings check before leaving baggage claim or getting into your airport transfer. It’s much easier to notice something missing while you’re still at the airport.
Image: AI generated and for illustrative purposes only
07 — My Personal Airport Tips as a Flight Attendant
Little things I've learned from spending so much time at airports.
After spending so much time at airports as a flight attendant, I’ve learned that it’s often the little things that make traveling easier.
Here are a few more airport tricks worth knowing before your next flight.
1. Take a Screenshot of Your Flight Details
Airport Wi-Fi isn’t always reliable, and mobile data might not work immediately when traveling internationally. Before leaving home, save screenshots of your flight number, booking details, and important travel information.
My Flight Attendant Tip: I also recommend downloading offline maps of your destination, especially if you’re arriving somewhere for the first time.
2. Don’t Rely on the Last Boarding Call
Just because your flight is scheduled to depart at a certain time doesn’t mean you can arrive at the gate five minutes beforehand.
Boarding usually closes well before departure, and once the gate is closed, you may not be allowed to board even if the aircraft is still there.
My Flight Attendant Tip: Always check the boarding time on your boarding pass and be at your gate before boarding begins. Departure time and boarding time are two very different things!
3. Bring a Small Emergency Kit
Unexpected delays, long travel days, or misplaced luggage can happen to anyone. That’s why it’s always a good idea to keep a few emergency essentials in your personal item.
Some useful things to pack include:
- A spare pair of underwear and socks
- A toothbrush and travel-size toothpaste
- Essential medication
- A few basic toiletries
- A charging cable
- A lightweight change of clothes, if space allows
My Flight Attendant Tip: Even if you’re checking a suitcase, keep enough essentials in your carry-on to get through at least one night without your checked luggage.
4. Keep Your Hotel Address Saved Offline
When arriving in a new country, you might not have internet access right away. Having your hotel’s name and full address saved on your phone can make arranging transportation much easier.
My Flight Attendant Tip: Save the address in the local language if you’re traveling somewhere with a different writing system. This can be especially helpful when communicating with taxi drivers.
5. Be Kind to Airport & Airline Staff
Travel days don’t always go according to plan. Flights get delayed, gates change, and luggage sometimes goes missing.
While these situations can be frustrating, remember that airport and airline employees are often dealing with circumstances outside their control.
My Flight Attendant Tip: Staying calm, polite, and respectful makes communication easier for everyone. Staff may not always be able to solve the problem immediately, but they can help you understand your available options.
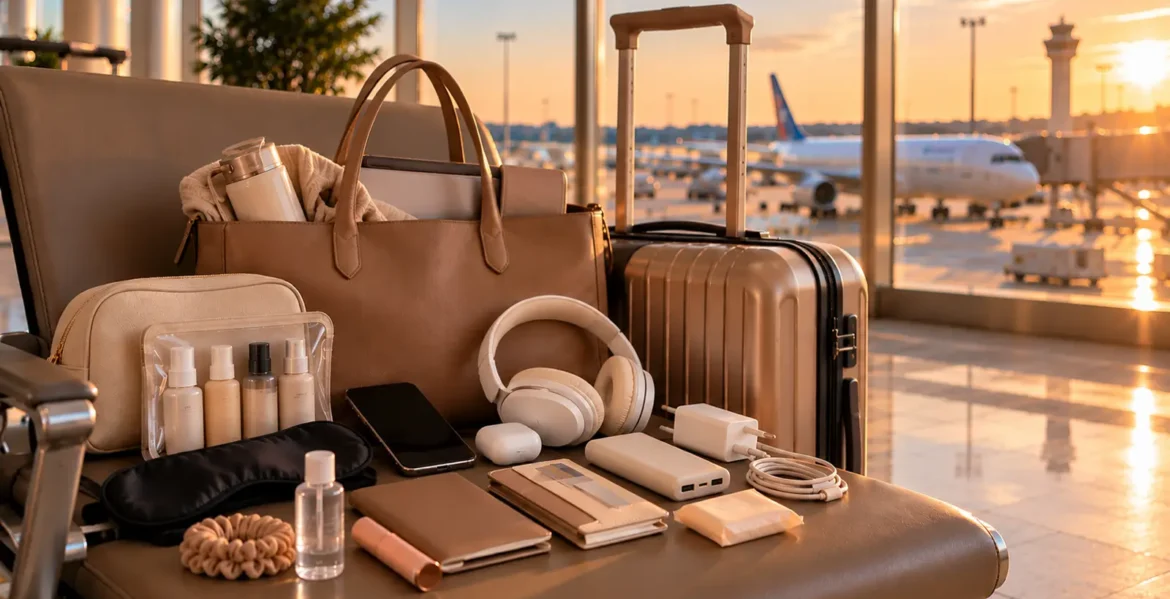
Image: AI generated and for illustrative purposes only
08 — My Airport Travel Essentials
My favorite little travel essentials for a smoother airport experience.
A few well-chosen travel essentials can make airport days so much easier. These are some of my favorite practical items to stay organized, save time, and travel with less stress.
*Affiliate Disclosure:
Some of the links below are affiliate links. If you purchase through one of them, I may earn a commission at no extra cost to you. As an Amazon Associate, I earn from qualifying purchases.
One of my absolute must-haves for checked luggage. Being able to check my suitcase’s last reported location gives me extra peace of mind, especially when traveling with connecting flights.
A simple but essential way to make your suitcase easier to identify and avoid accidentally picking up someone else’s luggage.
Perfect for staying hydrated without constantly buying expensive bottled water at the airport. Just make sure to check the airport’s liquid restrictions before security.
A travel essential for keeping your phone charged during long airport days, delays, and layovers. Always follow your airline’s rules for carrying and storing power banks.
Keep your passport, boarding passes, and other important documents organized and easy to access throughout your journey.
A practical way to keep your travel-size liquids together and easily accessible whenever airport security requires you to take them out.
09 — Final Thoughts
Airport travel doesn’t have to be stressful. With a little preparation, the right essentials, and a few simple tricks, you can make your journey so much smoother.
After spending countless hours at airports as a flight attendant, I’ve learned that the smallest habits often make the biggest difference — whether it’s keeping your liquids and electronics accessible, allowing enough time for connecting flights, or tracking your checked luggage with an Luggage Tracker..
I hope these airport tips and tricks help you feel more prepared and confident on your next trip.
Safe travels!